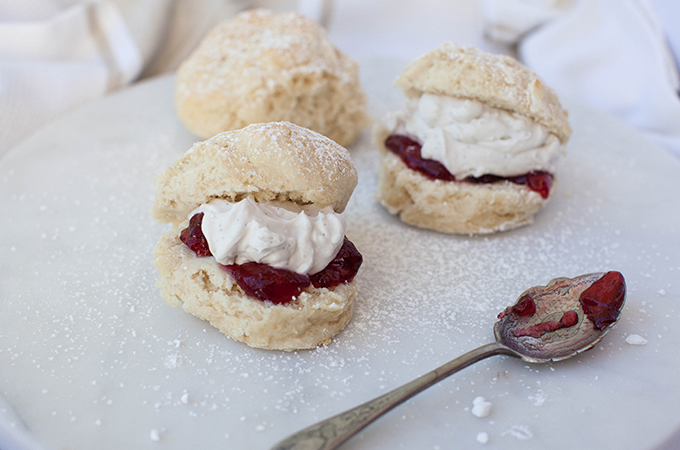
Until a year or so ago, I had been gluten free for about 15 years. I was fine with being gluten free and the temptation never got the better of me until I discovered a vegan restaurant on the Gold Coast called Easy House. Even though they have gluten free as well, there were so many other amazing dishes which did contain gluten and I decided that the temptation was too great and they looked like they would be well worth any side effects of eating gluten. It was so worth it!!
So, for about 16 years, I hadn’t eaten scones. I tried to make them gluten free but they were rock hard and definitely inedible. When I finally made regular scones a couple of months ago, they were nice but they were really just a base for the main event – the jam and cream. I have since played around with my recipe and now the scones are light and fluffy and just as much the main event as the jam and cream.
I made my most recent batch on Monday and it is now Wednesday morning but just a quick zap in the microwave will bring the scone I am about to devour back to its former glory.
- 320g self raising flour
- 2 tbsp icing sugar
- 1 pinch of salt
- 1 cup of almond milk (250ml)
- 30g melted vegan margarine
- Pre heat oven to 220°C (428°F)
- Sift flour, icing sugar and salt into a large bowl.
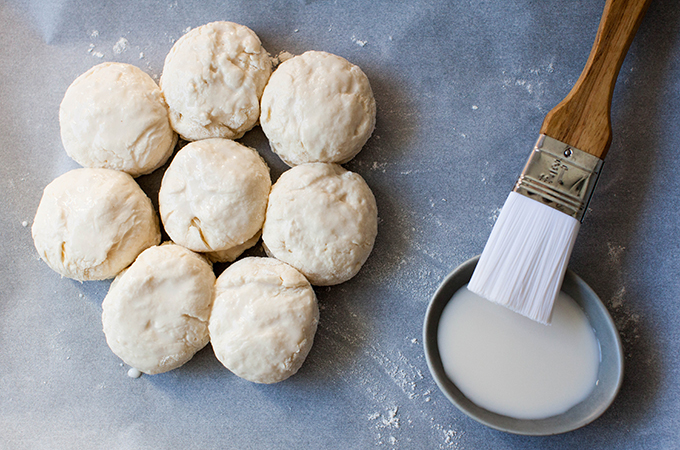
- Make a hole in the centre and pour in almond milk and vegan margarine. Using a butter knife, stir to combine the dry and wet ingredients. Mix until combined but don’t over mix.
- Sprinkle flour onto the counter and place dough onto floured surface. Knead very lightly into a ball and then flatten slightly so the dough is around 3-4 cm high (1-1.5inches).
- Using a scone cutter or a small glass, cut scones and place on a baking tray covered with baking paper. You will have to knead the leftover dough together and to cut more scones. Depending on the size of your cutter/glass, you will get about 10 scones.
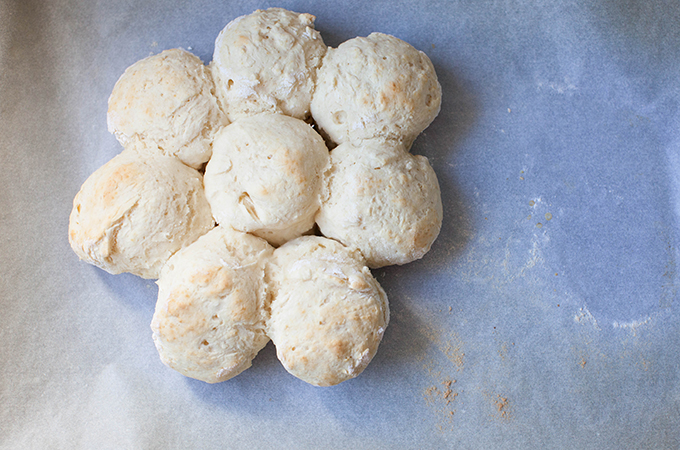
- When placing the scones on the baking tray, keep them close together.
- Cook for 10 minutes until slightly golden on top.
- Serve either warm or cooled with cream and jam.
- 1 x 400ml (14 ounce) can coconut cream
- 2 heaped tsp vegan icing sugar (powdered sugar)
- 1 tsp vanilla extract
- Chill a can of coconut cream in the coldest part of your fridge for at least 24 hours but unless it is the middle of winter, you might need to leave it in there for a few days to achieve the maximum amount of firm cream. I find the Aldi brand of coconut cream in Australia gives the best results and most firm cream.
- Don't remove from fridge until you are ready to use it. Open can and scoop all of the firm cream into a bowl stop once you hit liquid. You can either use the liquid in other recipes (smoothies maybe) or discard.
- Whip until smooth and then add icing sugar and vanilla and whip again until lump free and creamy. Do a taste test to check that you are happy with the level of sweetness and add more sugar if required.
- The cream will last for a few days in the fridge but it does become more firm in the fridge. If you are making this for a dinner party and you want the consistency of regular whipped cream, I wouldn't make it too far in advance.
- My recipe calls for 2 heaped teaspoons of icing sugar but make sure that you taste it yourself to make sure the sweetness is right for you.
- To get silky lump free cream, use your mix master or stick blender but if you are in a hurry or feeling lazy, I sometimes just mix it with a fork. I wouldn't use the fork method for a dinner party but when it is just us - why not?

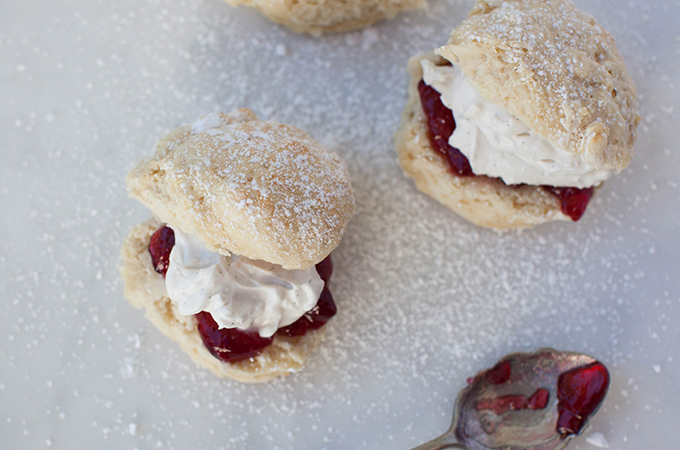
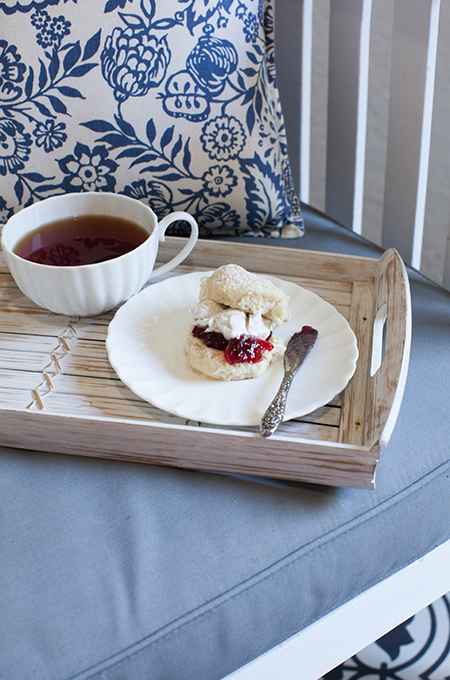
The photo above was taken on the day bed in our foyer. I love our day bed but not because I actually use it, just because it is so pretty. In face, I love our foyer, I think it is the first thing I loved about our house. Like the rest of our 83 year old home, it was sad and broken down but now it is so pretty that I just love stepping through the front gates.


Leave a Reply