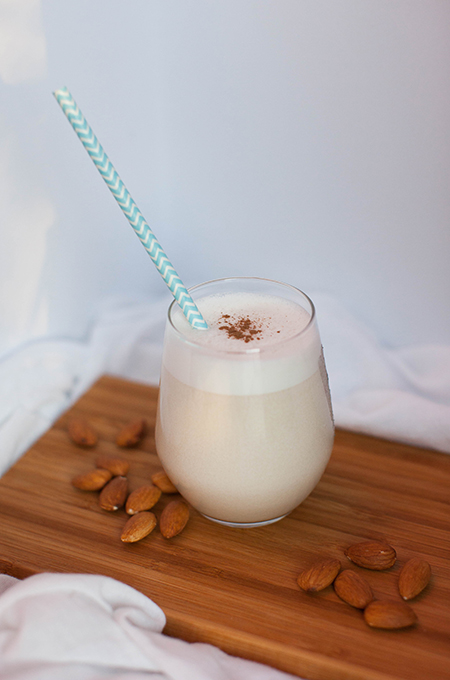
Before I tell you how excited I am about homemade almond milk, I firstly have to apologise for there being a 2 week gap since my last post. I am still working out how to fit in all the work required for my blog into my life. I promise to continue to get better at it though as my blog is very important to me and I want to be reliable for you. Luckily, at this stage, I’m not sure that anybody is actually reading my blog so I may have gotten away with it this time!
Anyway, back to my excitement over homemade almond milk! I have almond milk in my breakfast banana smoothie everyday (recipe in my post – ‘Not So Pretty Banana Smoothie’). I also bake with it and use it to make sauces and ice cream. It is so versatile and you can substitute it for pretty much anything you would have used cows milk for.
I have been going to try and make my own almond milk for months now but I kept putting it off and then I read the ingredients in the organic almond milk I had been buying for the past couple of years – there was vegetable oil and sugar! Another one I tried had maltodextrin, anti-caking agents and vegetable gums. I just wanted almond milk with simple natural ingredients since I am ingesting it into my body everyday!
In my recipe, I have added 4 dates for a little bit of sweetness and a pinch of salt but you can just as easily cut both out and just use the almonds and water.
There is something about making my own nut milk that just makes me feel good. Like I’m getting back to nature somehow and feeling self sufficient – of course I’m not growing the almonds myself or getting the water from a babbling brook behind my house but I still kind of feel that way when I’m making it. And of course it makes me giggle every time I think of the ‘nut bag’ I use to make the milk (yes, childish I know). On that topic, I would suggest you invest in a nut milk bag to make to process much easier. If you don’t want to or can’t find one (I bought mine from a health food shop for $17 – Australian) then I think some people use a sieve instead and still have good results. Happy milking and I hope you enjoy!
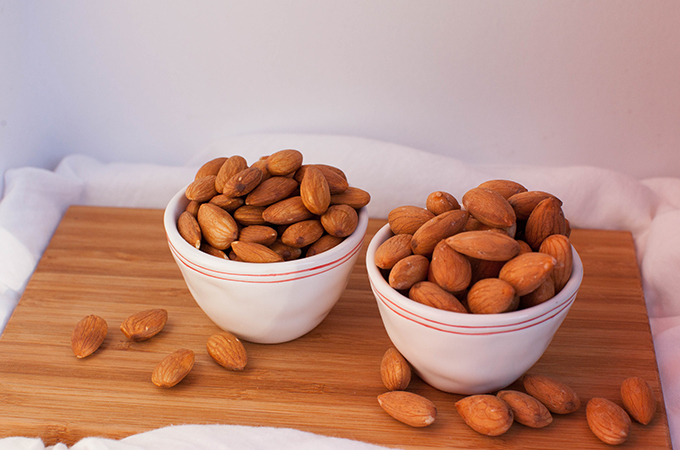
- 1 cup raw almonds
- 3-4 cups of cold water (plus extra water for soaking)
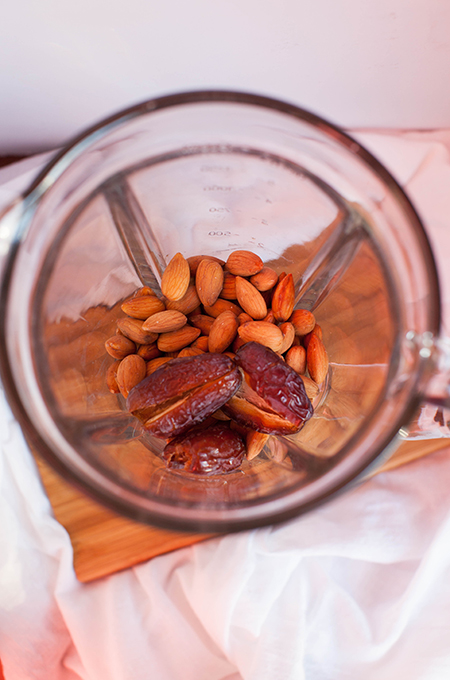
- 4 pitted dates (if dates are very dry, you might have to soak in hot water for 10 minutes before using)
- pinch salt
- Not an ingredient but a nut milk bag will make this very easy – you can buy them at health food shops.
- Place almonds in a bowl or container, cover with water and soak for at least 8 hours.
- When almonds are ready, rinse thoroughly and place into a blender. Add pitted dates, salt and water into blender. I use 4 cups of water just so I can make a bigger batch (2 days of smoothies for my husband and I) but if you want your milk even thicker, add 3-3.5 cups.
- Blitz blender for about 30 seconds to 1 minute until nuts and dates are very finely chopped into little particles floating in the liquid.
- Open your nut milk bag and place bag into a medium to large jug with bag opening at top. (If you don’t have a nut milk bag then you could use a fine sieve or a large piece of muslin but a bag is so much faster and easier).
- Pour about half of the liquid mix into the bag. Lift bag and squeeze over the jug. Just keep squeezing until you get all of the milk out. It will only take a minute or two. You will be left with almond meal in the bag which you can either discard (it would probably be good on your garden) or you can dry it and use in baking. I haven’t tried this myself but apparently you can put in the oven on a very low heat for a few hours or use a food dehydrator.
- Repeat process with the rest of the liquid.
- Pour milk into a glass bottle and store in the fridge for 4-5 days.


Leave a Reply